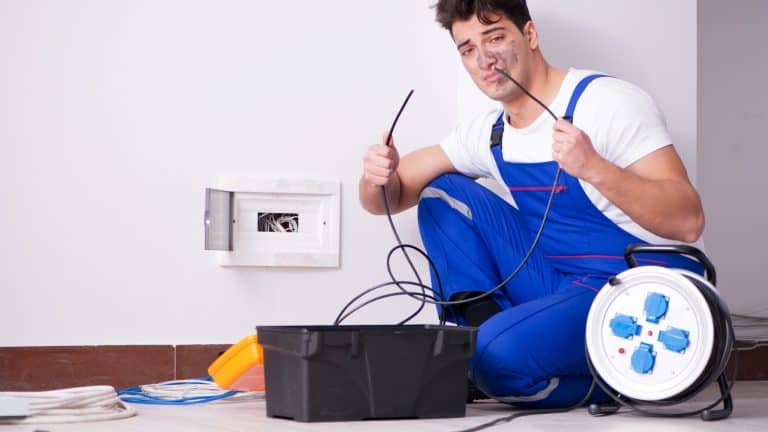
A lot of small details aren’t obvious at first glance with DIY electrical work, and here are ten handy hints you’d do well to know first.
Check the other side too

After you flip the breaker and test an outlet, you might assume that you’re all good. But the issue here is that some receptacles are wired in a way that means each half is controlled separately.
As such, you shouldn’t simply assume everything’s okay because you’ve tested one plug point. You’re better off shutting off the breaker, plugging something in, and then testing both plug points.
Stop immediately if one still works. There’s a chance that the second outlet might be live, especially in older homes where split wiring is more common, so make sure to do a full check.
Leave the sticker alone

You might’ve seen the sticker covering the LOAD terminals on a GFCI outlet and presumed that it’s packaging junk. It’s not. It’s actually there to stop you from wiring the outlet backward, as the LINE side brings the power in while the LOAD side sends the protection downstream.
You’re in for some major issues should you mix them up, because it means the outlet won’t reset at all. It has a built-in lockout to prevent that from happening.
As a result, unless you’re 100% sure which cable is which, you’re better off keeping that sticker on. It’s doing a lot more work than it seems.
Follow the little marks
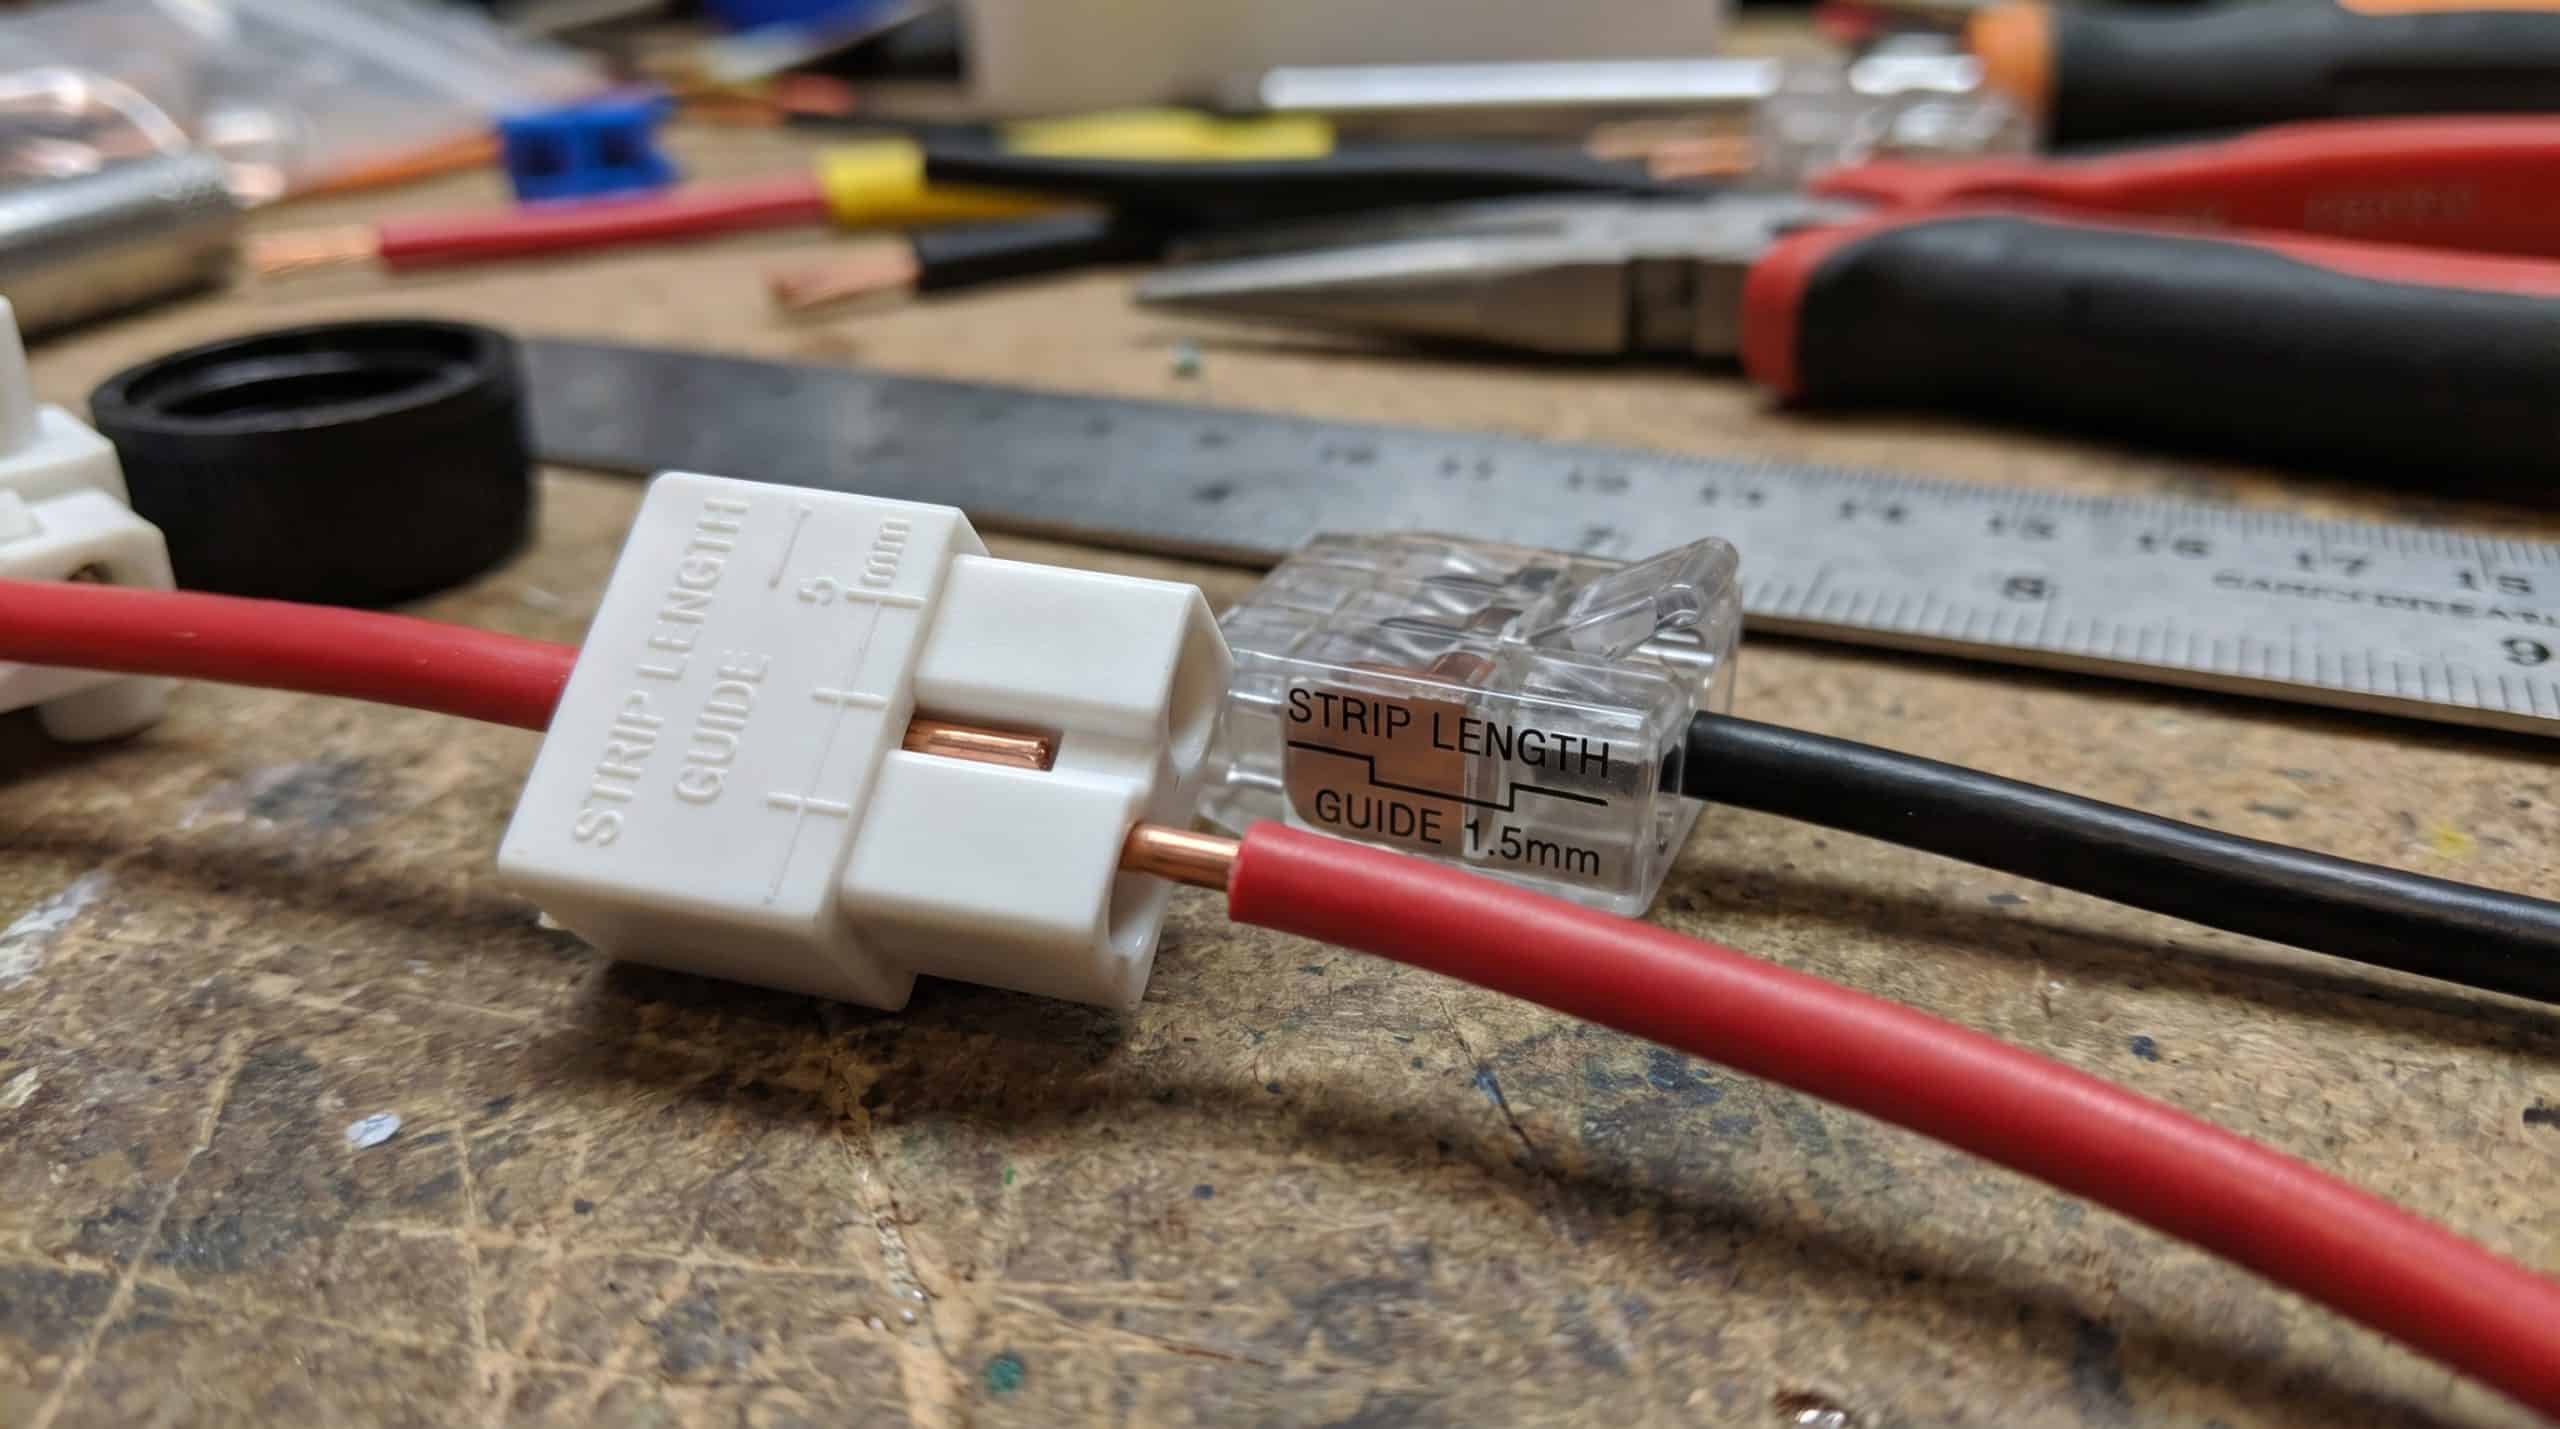
Don’t ignore the strip-length guides stamped onto the devices or connectors because they’re there for a reason. In fact, each strip is done to a specific length, usually around half an inch.
The copper is meant to reach the back of the connector, and in the case that the strip is too short, the connection won’t be solid. When it’s too long, you’ll have exposed copper in places where it shouldn’t exist.
Sure, it’s easy to overlook such a small detail, but it could lead to the connection feeling loose, even when everything seems fine from the outside. Do you really want to make that mistake?
A quarter-turn matters
You might be surprised to know how much direction matters when you’re wrapping a wire around a screw terminal. According to guidance from Leviton, you should form around a three-quarter loop and wrap it clockwise. Why?
Because tightening the screw pulls the wire tighter, while going the other way could actually cause you to push the wire out while you’re ‘tightening’ it.
There’s also the torque range to think about, which should be around 7 to 10.6 in-lb. Even the smallest change in direction could mean the difference between having a secure wiring connection and one that loosens over time.
Fresh ends only

No, pulling a wire out of a push-in connector and sticking it back in isn’t a good idea. It’s not how you’re meant to reuse them. IDEAL says that anyone reusing a connector on solid copper should cut off the old end and then strip a fresh section before reinserting.
You should also avoid using any stranded or aluminum wire because it’s dangerous. Essentially, just remember that once the wire’s clamped, the original tip is practically useless.
Avoiding this small step could leave you with a weaker connection that’s only going to cause more issues. There’s no reason to avoid it.
Track what changed

Some people assume that the job is finished once they’ve installed a GFCI, despite the fact that they need to work out what else it’s affecting. Make sure to press the TEST button and check any outlets nearby in case they lose power.
What happens if they do? Well, then you should label them as GFCI-protected, as the GFCI protection from the outlet you just installed can stretch far beyond it.
A lack of checking is only going to cost you because you’ll likely struggle to work out which outlets are tied together later. You might even find that they’re in different rooms or in less obvious places.
The cover matters too

The issue with swapping an outdoor outlet is the fact that you have to change a lot more than the outlet itself. You’ll need to make sure that any outdoor receptacles are weather-resistant, and any that are in wet locations will also need a while-in-use cover.
That cover will keep the outlet protected when you plug something in. But that’s not all. Leviton’s outdoor safety guide says that you have to ensure that the outlet and cord connection stay dry under the cover.
As such, don’t assume that you’re finished simply because you’ve changed the receptacle. You’ll need to swap out the basic, indoor-style cover for something a little more weather-resistant.
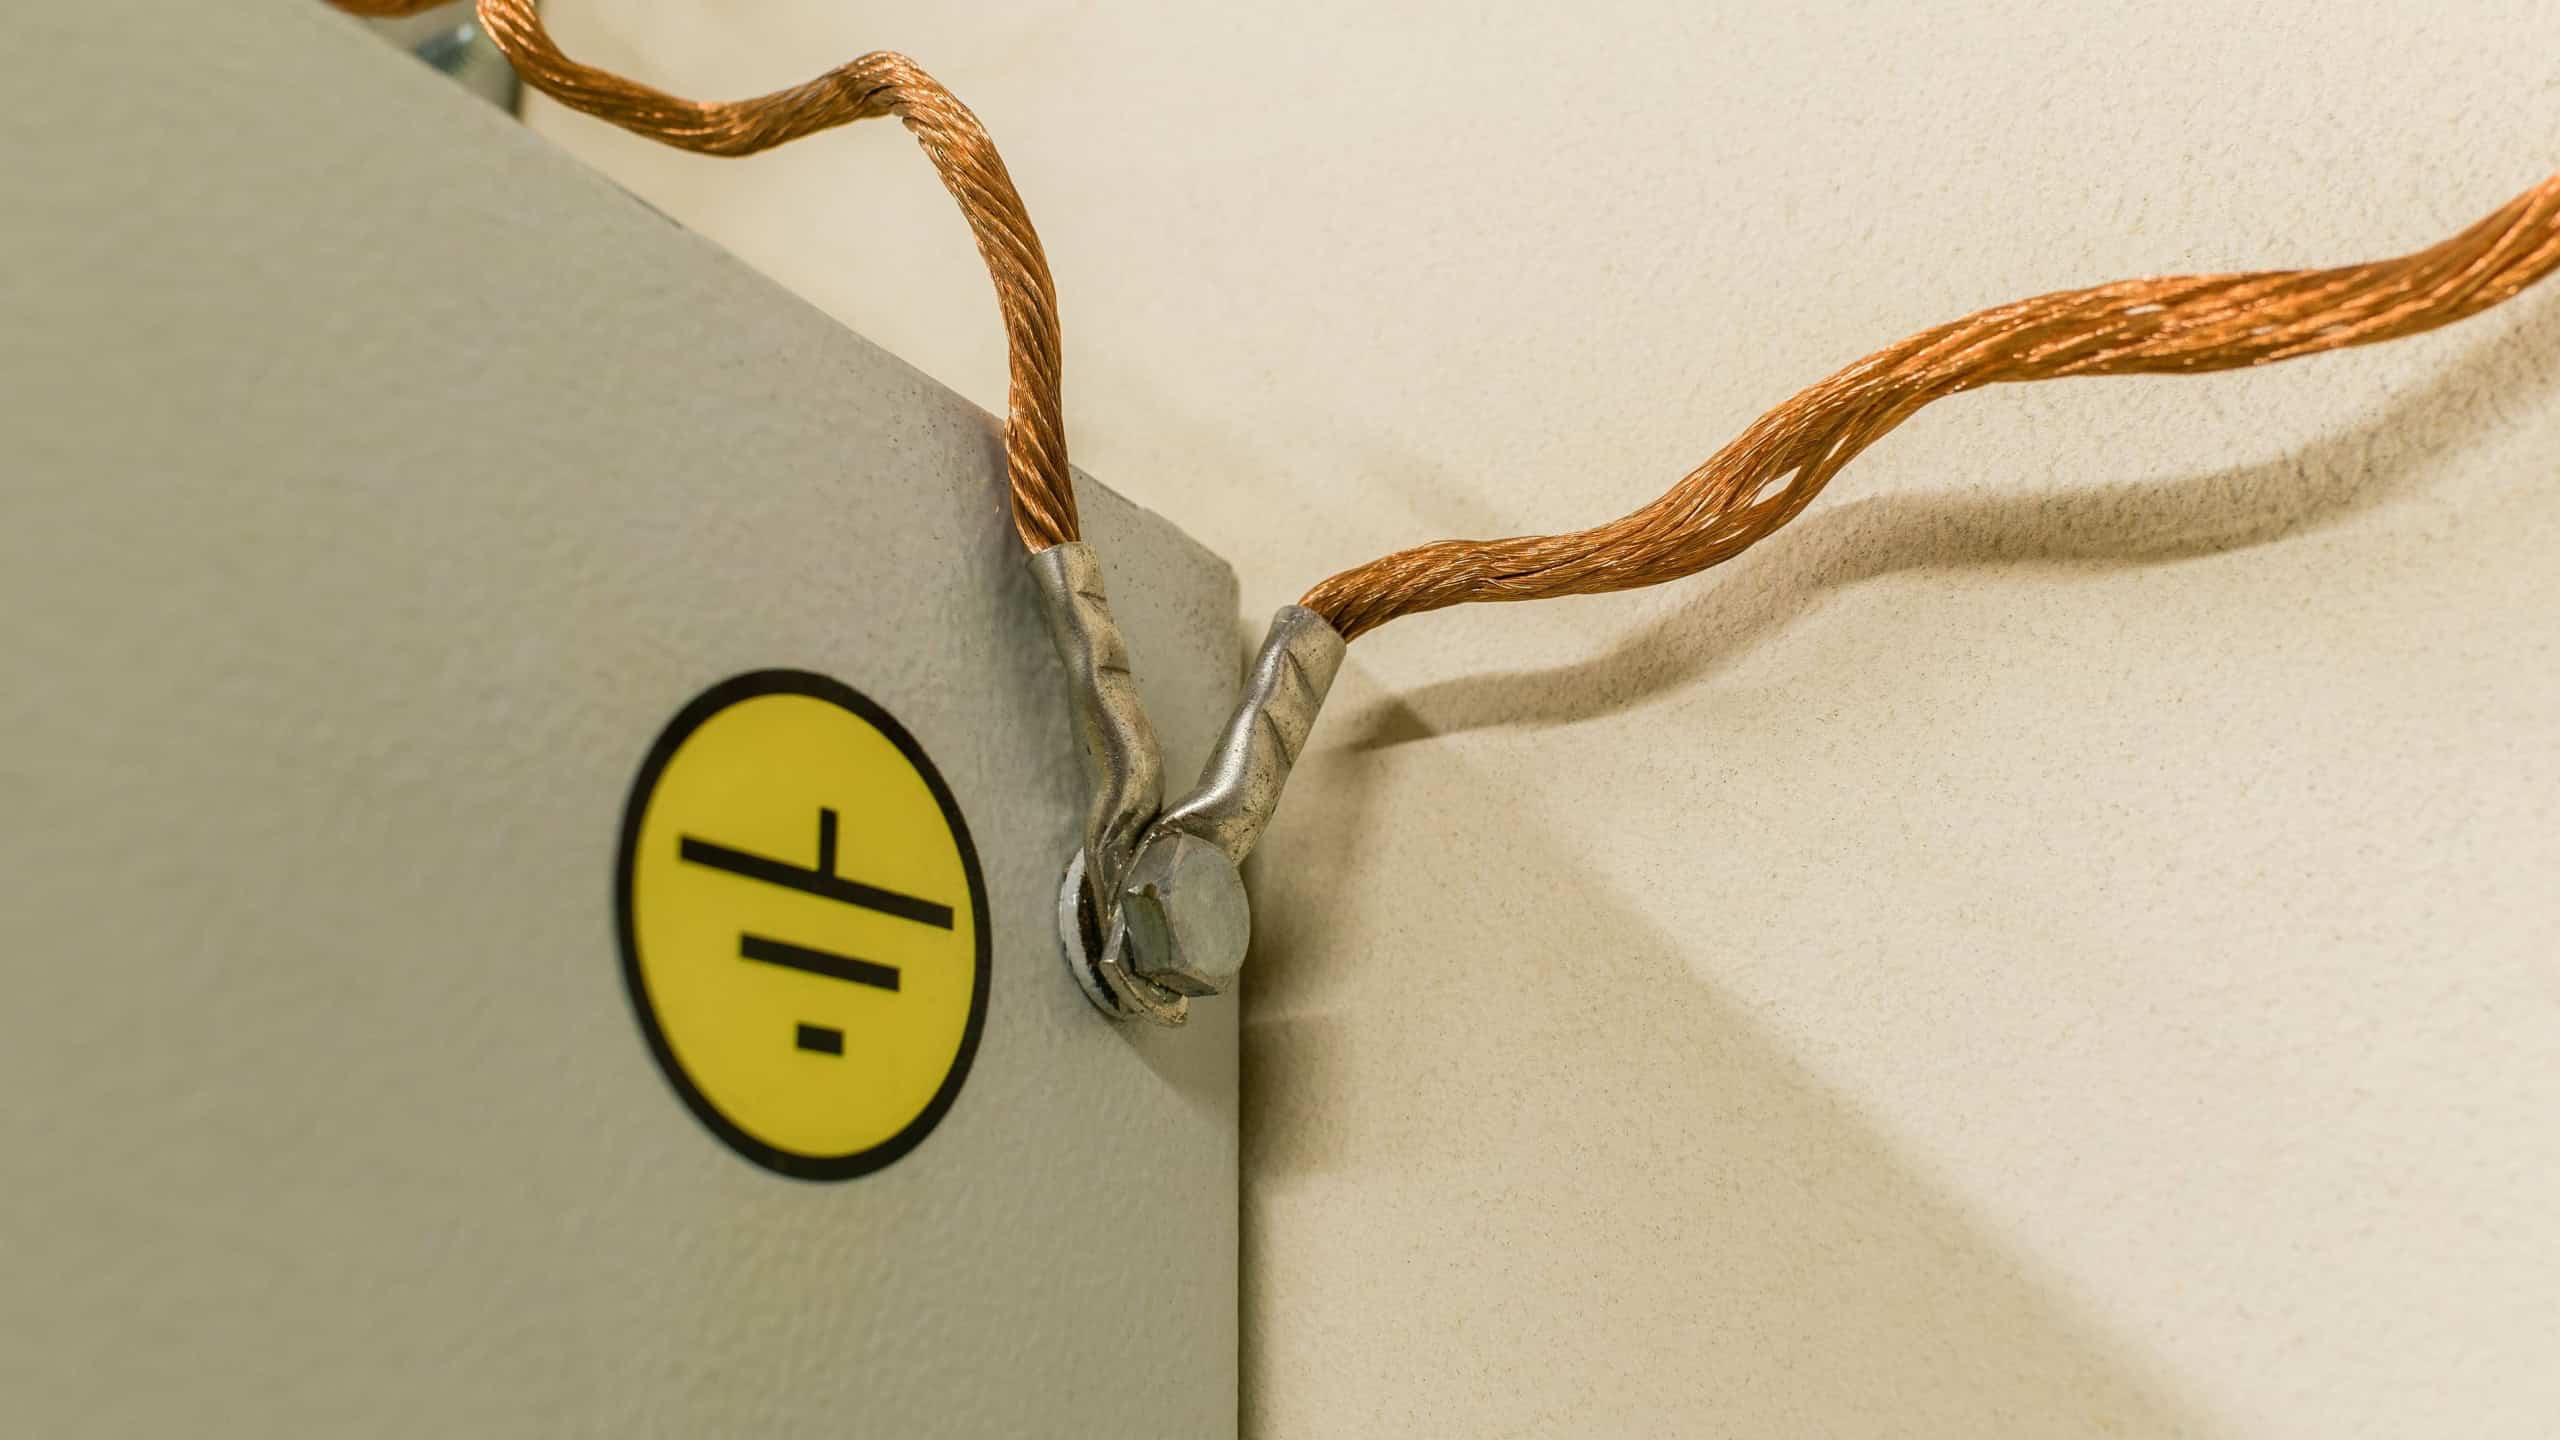
Watch for older metal
There are also times when the wiring behind the wall may not be what you expect, particularly in older homes, as they often use aluminum wiring. It doesn’t work the same as copper.
Unfortunately, many devices are rated for copper or copper-clad only, meaning that they won’t work properly with any aluminum wiring. You’ll have to use specialist repair methods like COPALUM or AlumiConn connectors for the aluminum circuits.
Yes, you might’ve seen people on social media recommending some quick alternatives for aluminum, but you really don’t want to risk the problems these could cause. Don’t treat aluminum conductors like a standard wire swap.
Count before you fold

It’s well worth stopping and counting what’s actually inside before pushing everything back into the box. NEC guidance says that each device counts as two conductor volumes, for starters.
It also says that grounding wires are grouped together up to a certain limit. What does that mean in practice? Pretty much that the boxes fill up faster than you might expect, especially once you add in a GFCI or dimmer.
Any box that feels cramped while you’re folding wires back in probably is so. Take it as a sign that you’ve exceeded the space calculation, and now it’s time to fix it.
One room, one rule

It’s not always clear that there’s a wiring rule with bathrooms, even when you look at the circuit. But it does exist. You’ll need a 120-volt and 20-amp circuit, which isn’t meant to serve any other outlets in other areas, although there is an exception to this rule.
A circuit dedicated to a single bathroom may also supply other equipment in that same space, and that’s the only time that it’s ever allowed.
Anyone planning to extend a circuit into or out of a bathroom will need to keep an eye on that because the wiring setup has to match these conditions from the start. No excuses.
Sources: Please see here for a complete listing of all sources that were consulted in the preparation of this article.

